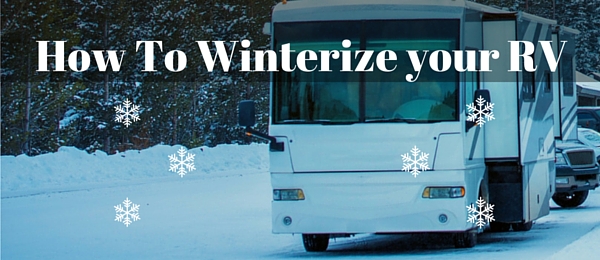
Winter is coming and for those of us who live for winter camping and traveling in our RVs, it’s time to hunker down and stay put for a while. The approaching cold and icy weather in some parts of the country means it’s time to winterize your RV so it’s ready to create more unforgettable family memories next spring, summer and fall.
Why You Need to Winterize Your RV
An RV’s plumbing system is most susceptible to damage during the winter months. The freezing temperatures can damage water lines, affecting the heating system, running water, and toilets. Water expands as it freezes and this can make sewer and water lines reach levels that are too high. Keep your RV in tip-top shape with winterizing maintenance that you can perform yourself using the right equipment from Basic Components.
How to Winterize Your RV Plumbing
Gather the tools and supplies you’ll need to get your RV ready for its winter hibernation. Check for these items you may already have in your garage. If not, then Basic Components has what you need to winterize your RV.
Depending upon your vehicle and the shape it’s in, here are some of the things you may need to winterize your RV:
- 2-3 gallons of non-toxic RV/marine antifreeze
- By-pass kit for the water heater (You don’t want the water heater to fill up with antifreeze before it goes through the water lines which is why you need the bypass kit)
- Cleaning wand
- Tubing or a water pump converter kit
- Household tool kit
Winterizing Steps
One of the first things to do is read your RV’s owner’s manual and take a look at the guidelines for your camper. Most of the following steps apply, but be sure that you don’t begin the winterizing process if there is already some pressure built up within the water tank. If your water tank has reached that point, you should consult a maintenance professional.
FIRST STEPS:
- Install the water heater bypass kit
- Drain the fresh water holding tank and flush out the black-water holding tank using the wand
- Drain the water heater
- Open the pressure relief valve and drain plugs using your tools
Never drain the water heater if it is hot or under pressure!
SECOND STEPS:
- Turn on all faucets, hot and cold, including toilet and all showers
- Open the water drain lines (low point, hot and cold) using the water pump or tubing
- Turn off the water pump as soon as the water drains out and recap drains and shut faucets
THIRD STEPS:
- Bypass the water heater
- If you don’t have a water pump converter kit, connect tubing from the water pump to a gallon jug of RV antifreeze
- Operate the water pump beginning with slowly opening the closest faucet to it
- Open first the hot then the cold water valves until you see the antifreeze
- Replace antifreeze containers as needed
- Repeat the process on all faucets, plus the outside shower
- Flush the toilet until you see antifreeze
FOURTH STEPS:
- Pour a cup of antifreeze down every drain
- Pour antifreeze into the toilet, then flush it into the holding tank to keep that water from freezing
- Turn off the electric heating element if you have one in your water heater
- Be sure to close off all faucets
LAST STEP:
Check your owner’s manual for instructions on how to winterize your icemaker and/or washing machine.
We’re Here To Help!
Call the Basic Components office at 1-800-452-1780 more information on how to winterize your RV.
